ENG

MR KIT

MR Kit

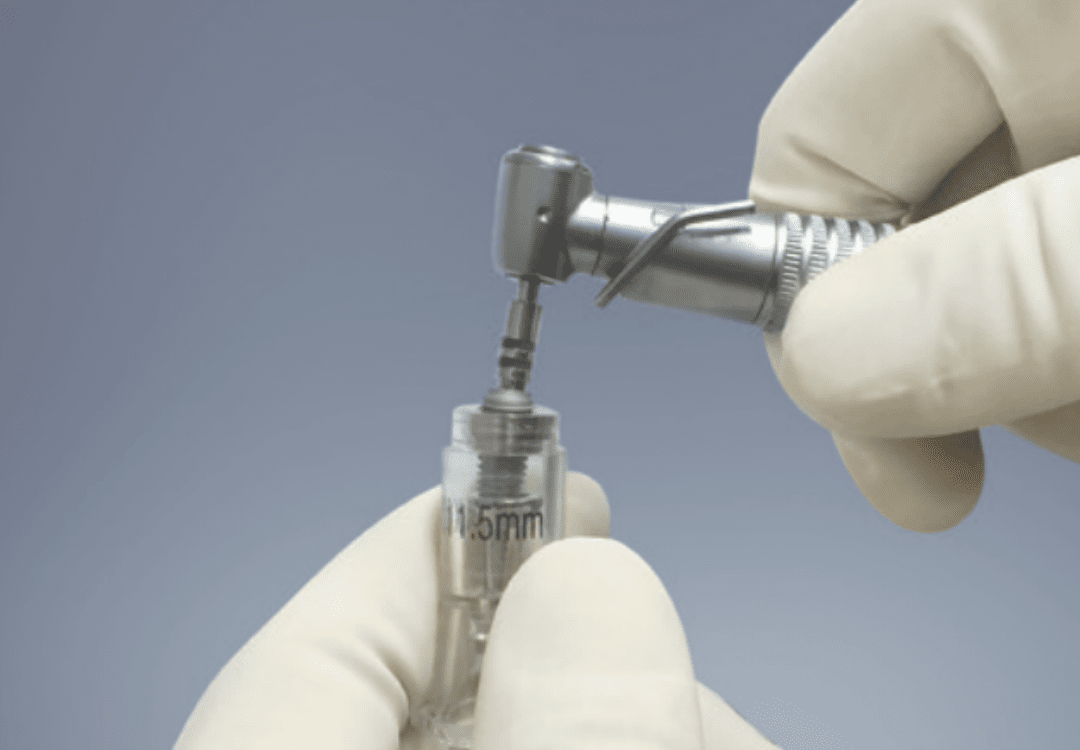
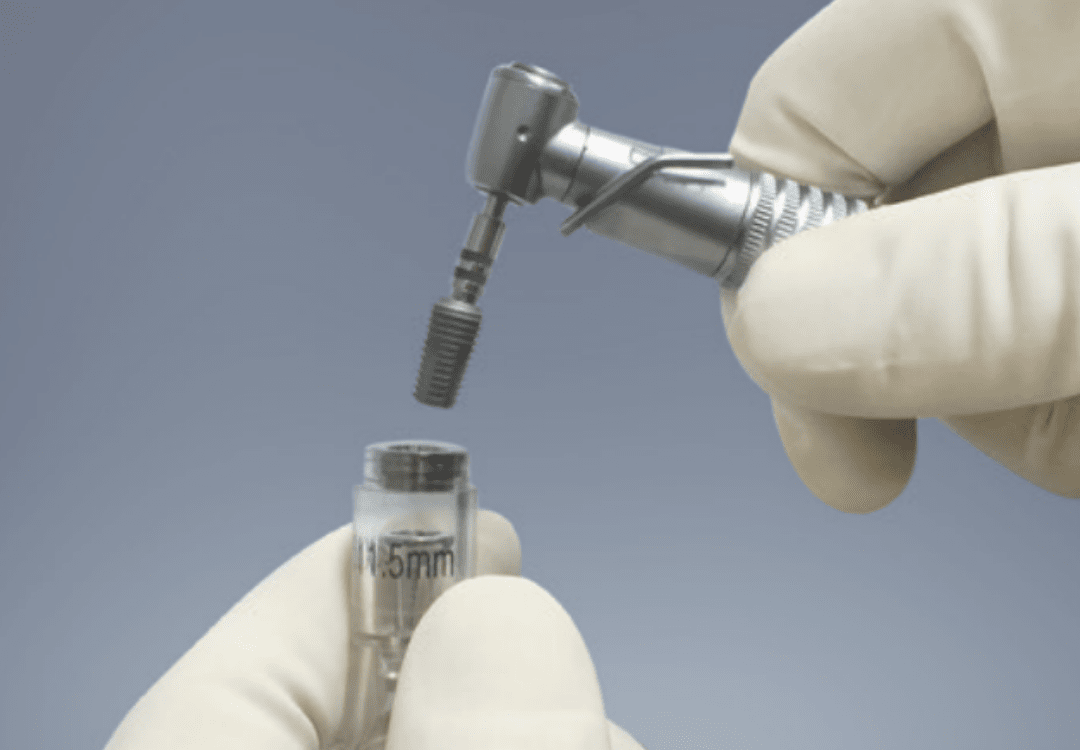
How to pick up the fixture

01

Take off the ampoule cap from ampoule with hand

02

Pick up the fixture

03

Detach fixture from the ampoule

MR KIT COMPONENT

Lance drill

High visibility during surgery with laser markings at 8, 10, 11.5, 13, and 15, measurements correspond to the length of MR implants.
The Lance Drill is for cortical bone only; however, it is possible to drilling up to marker depending upon the surgical situation.
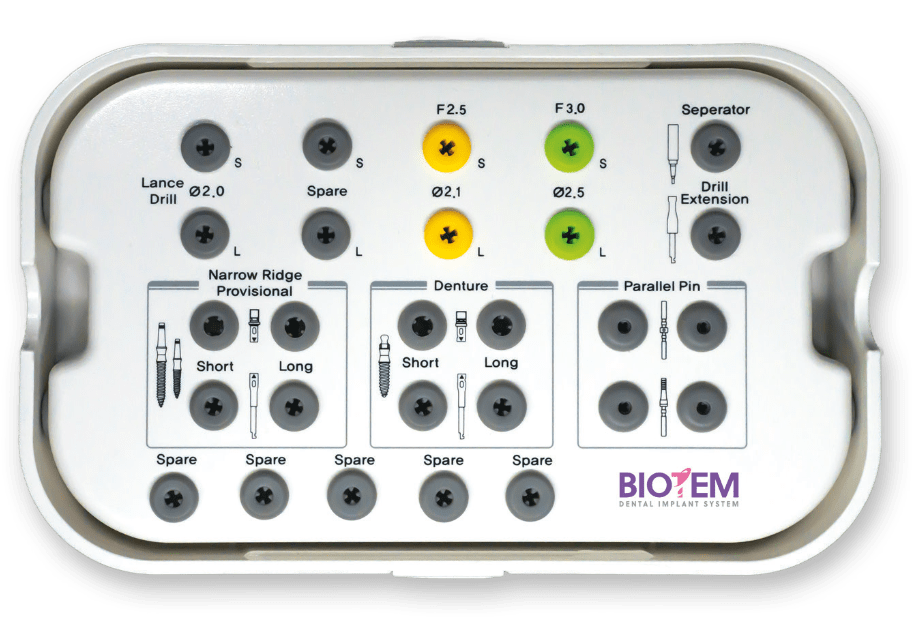
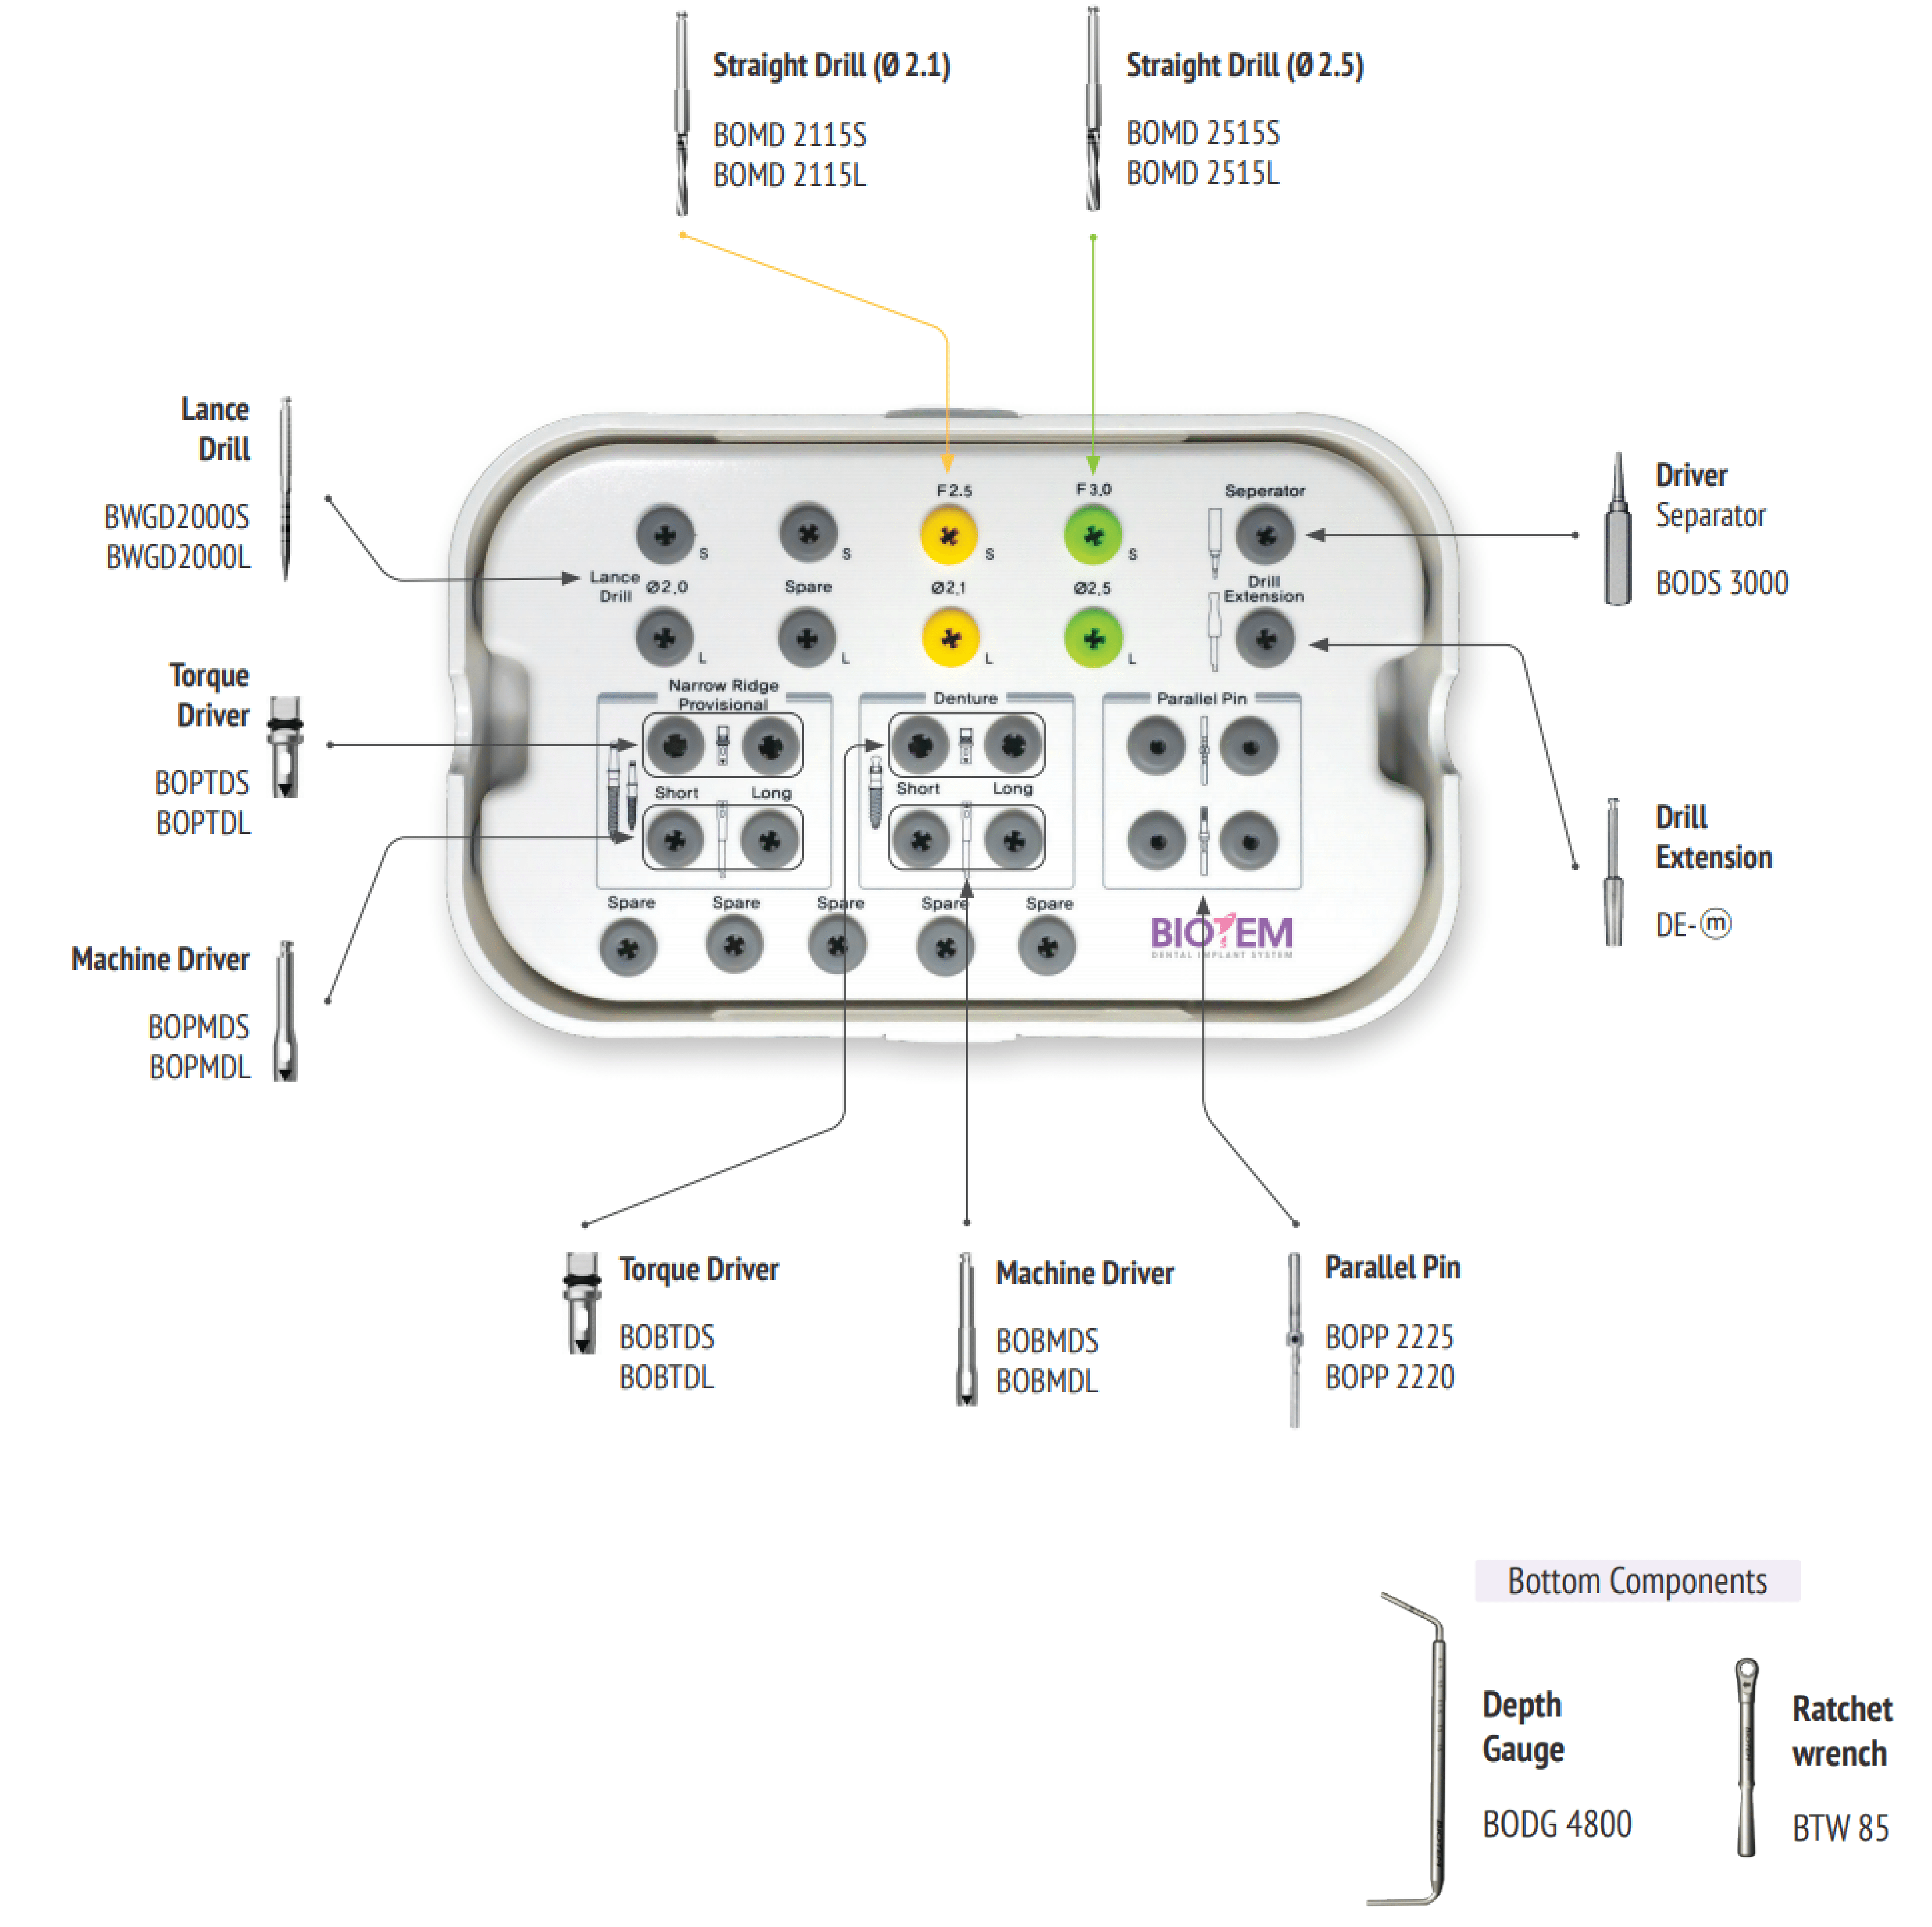
Straight Drill

High visibility during surgery with laser markings at 8, 10, 11.5, 13, and 15, measurements correspond to the length of MR implants.
The Lance Drill is for cortical bone only; however, it is possible to drilling up to marker depending upon the surgical situation.

Torque driver

Driver for the MR implant narrow ridge and provisional type
Connect by matching up the triangle marker with the cross section of the implant (as shown)

Machine driver

Driver for the MR implant narrow ridge and provisional type
Connect by matching up the triangle marker with the cross section of the implant (as shown)

O-ring Abutment Torque driver

Driver for MR implant denture
Connect by matching up the triangle marker with the cross section of the implant (as shown)

O-ring Abutment Machine driver

Driver for MR implant denture
Connect by matching up the triangle marker with the cross section of the implant (as shown)

Gauge for MR Implant

Depth gauge : Left side: Measures drilling depth / Right side: Used to modify the MR Implant Provisional neck angle
Never modify the MR narrow ridge neck
Parallel pin is used to check the path after drilling

Driver Separator

Use when the driver is wedged with the implant. Insert the driver separator into the opening on the driver, and lever the driver off the implant.